
After five years of babysitting a big 340 litre reef tank along with its complicated plumbing, copious equipment, and sky high electric bills—I reached a breaking point. Big tanks are brilliant, until they aren’t. I wanted a replacement that was smaller, easier, and followed a minimalist philosophy without sacrificing the high-end look.
| Feature | The Old System (340L) | The New Vision (UNS 90LA) |
| Footprint | Large & Deep | 90cm x 30cm x 30cm (approx. 35.4″ x 11.8″ x 11.8″) |
| Volume | ~90 Gallons | ~21.4 Gallons |
| Filtration | Massive Sump & Skimmer | Integrated AIO Chambers |
| Glass | Standard | High-clarity, 45° mitered edges |
Welcome to Day 1 of my newest project: the UNS 90LA All-In-One (AIO) reef tank. This long aquarium is the key to my downsize, My goal for this build is to prove that you can compress the performance and biodiversity of a massive setup into a minimalist tank that still packs a punch.
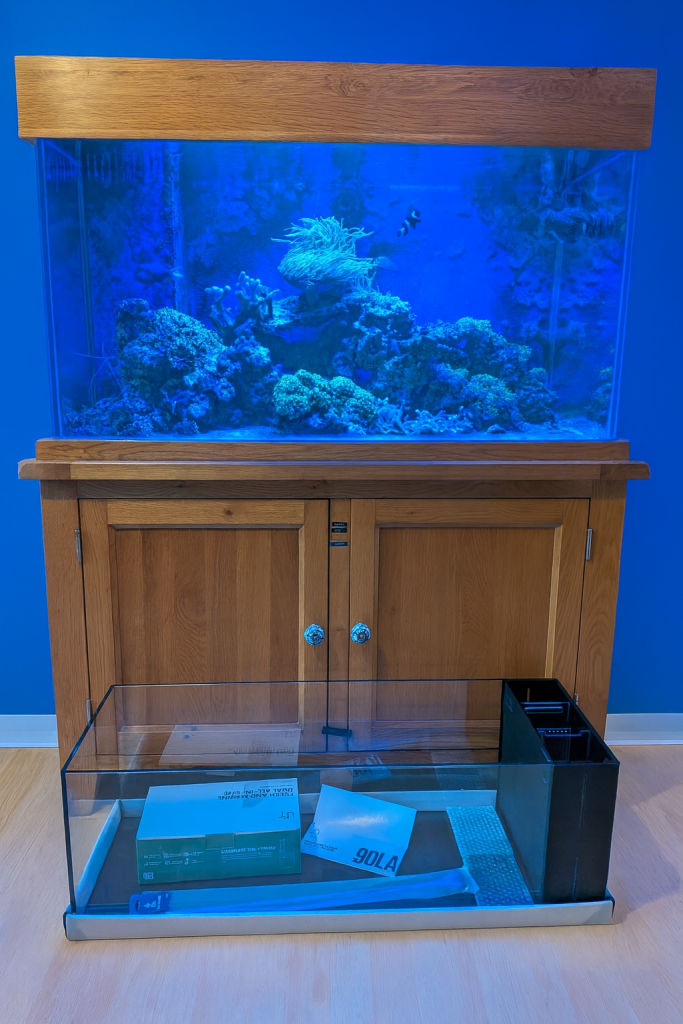
UNS 90LA Review: Why this All-In-One is the Ultimate Downsize Tank
If you want a simple to maintain fish tank then an AIO (All-in-One) is a great way to go. An AIO is great for beginners dipping their toes into saltwater or pro fishkeepers that want something simple and elegant. AIO tanks usually have a built in set of chambers that can house all filtration and equipment, as an added bonus it also keeps all kit out of view.
All tanks in the UNS Dual range are designed to be used as a freshwater or saltwater tank. Accessories can be added into the chambers to make it suitable for life as a reef tank, accessories include a small refugium, auto top off, skimmer and filter socks.
The UNS 90LA is a peninsula tank, this means the chambers are all at one end allowing the tank to be installed in the center of a room leaving 3 viewing sides.


As well as the simple elegance the dimensions are a specific reason I chose this model for the downsize:
Dimensions: 90cm x 30cm x 30cm (approx. 35.4″ x 11.8″ x 11.8″)
Volume: ~80 Liters (21.4 Gallons)
Glass: 45° mitered edges with high-clarity low iron rimless glass
There are only a few resellers that stock this specific tank in the UK, I bought this one from Charterhouse Aquatics.
The Shallow Scape: Aquascaping for a long narrow footprint
The 5cm Rule: When aquascaping a narrow 30cm tank, always prioritize the “glass gap.” I left a 1 inch buffer on all sides. It feels like wasted space on Day 1, but on Day 100 when you aren’t scratching your glass with a magnetic cleaner, you’ll thank yourself.
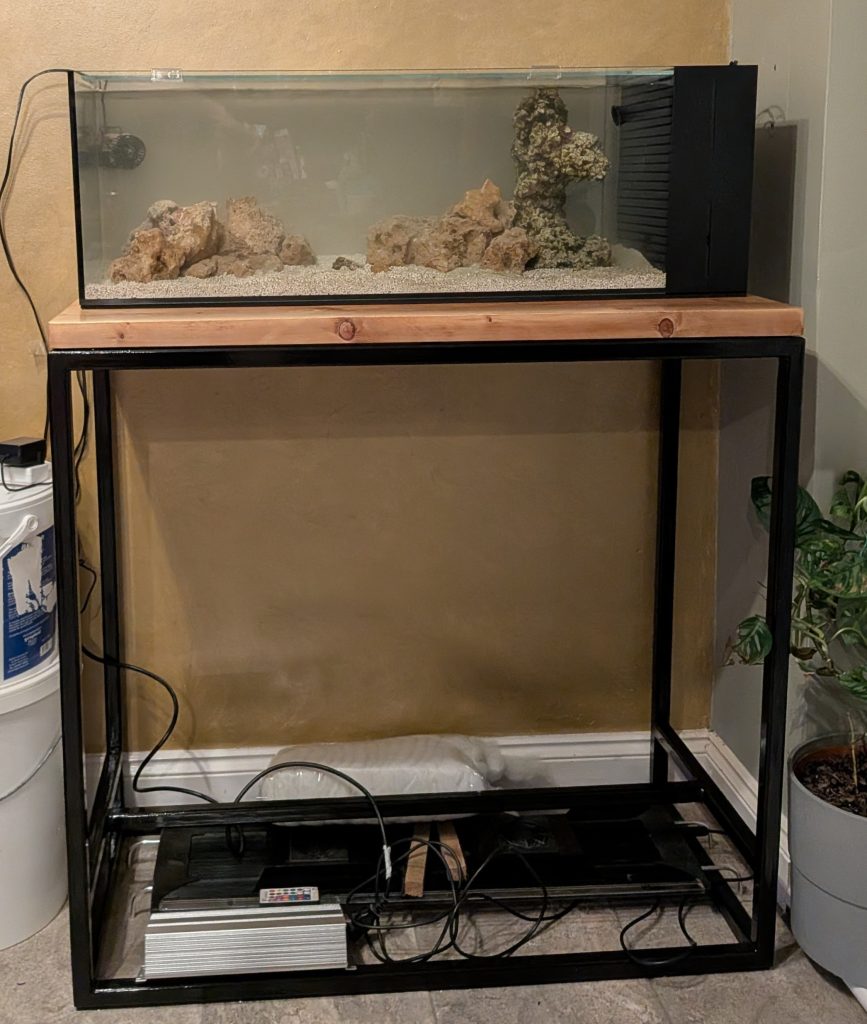
Because this is a Peninsula-style AIO, all the filtration and equipment is tucked in the 3 chambers in the black section on one side. The tank is meant be a 3-sided peninsula, I chose a 2-sided wall placement. This influenced my ‘Tall Rock’ placement; I wanted to create a focal point near the equipment chambers to hide the intake, while keeping the far end open to emphasize the 90cm length when viewing from the left hand side.
How to Instant-Cycle a Reef Tank: My ‘Old Media’ Bio-Hack
When setting up a new tank everyone is always itching to get livestock in there are soon as possible but you have to run through a cycling process to build up the biological bacteria in the tank. This can take anywhere from 1 week to several months to take place.
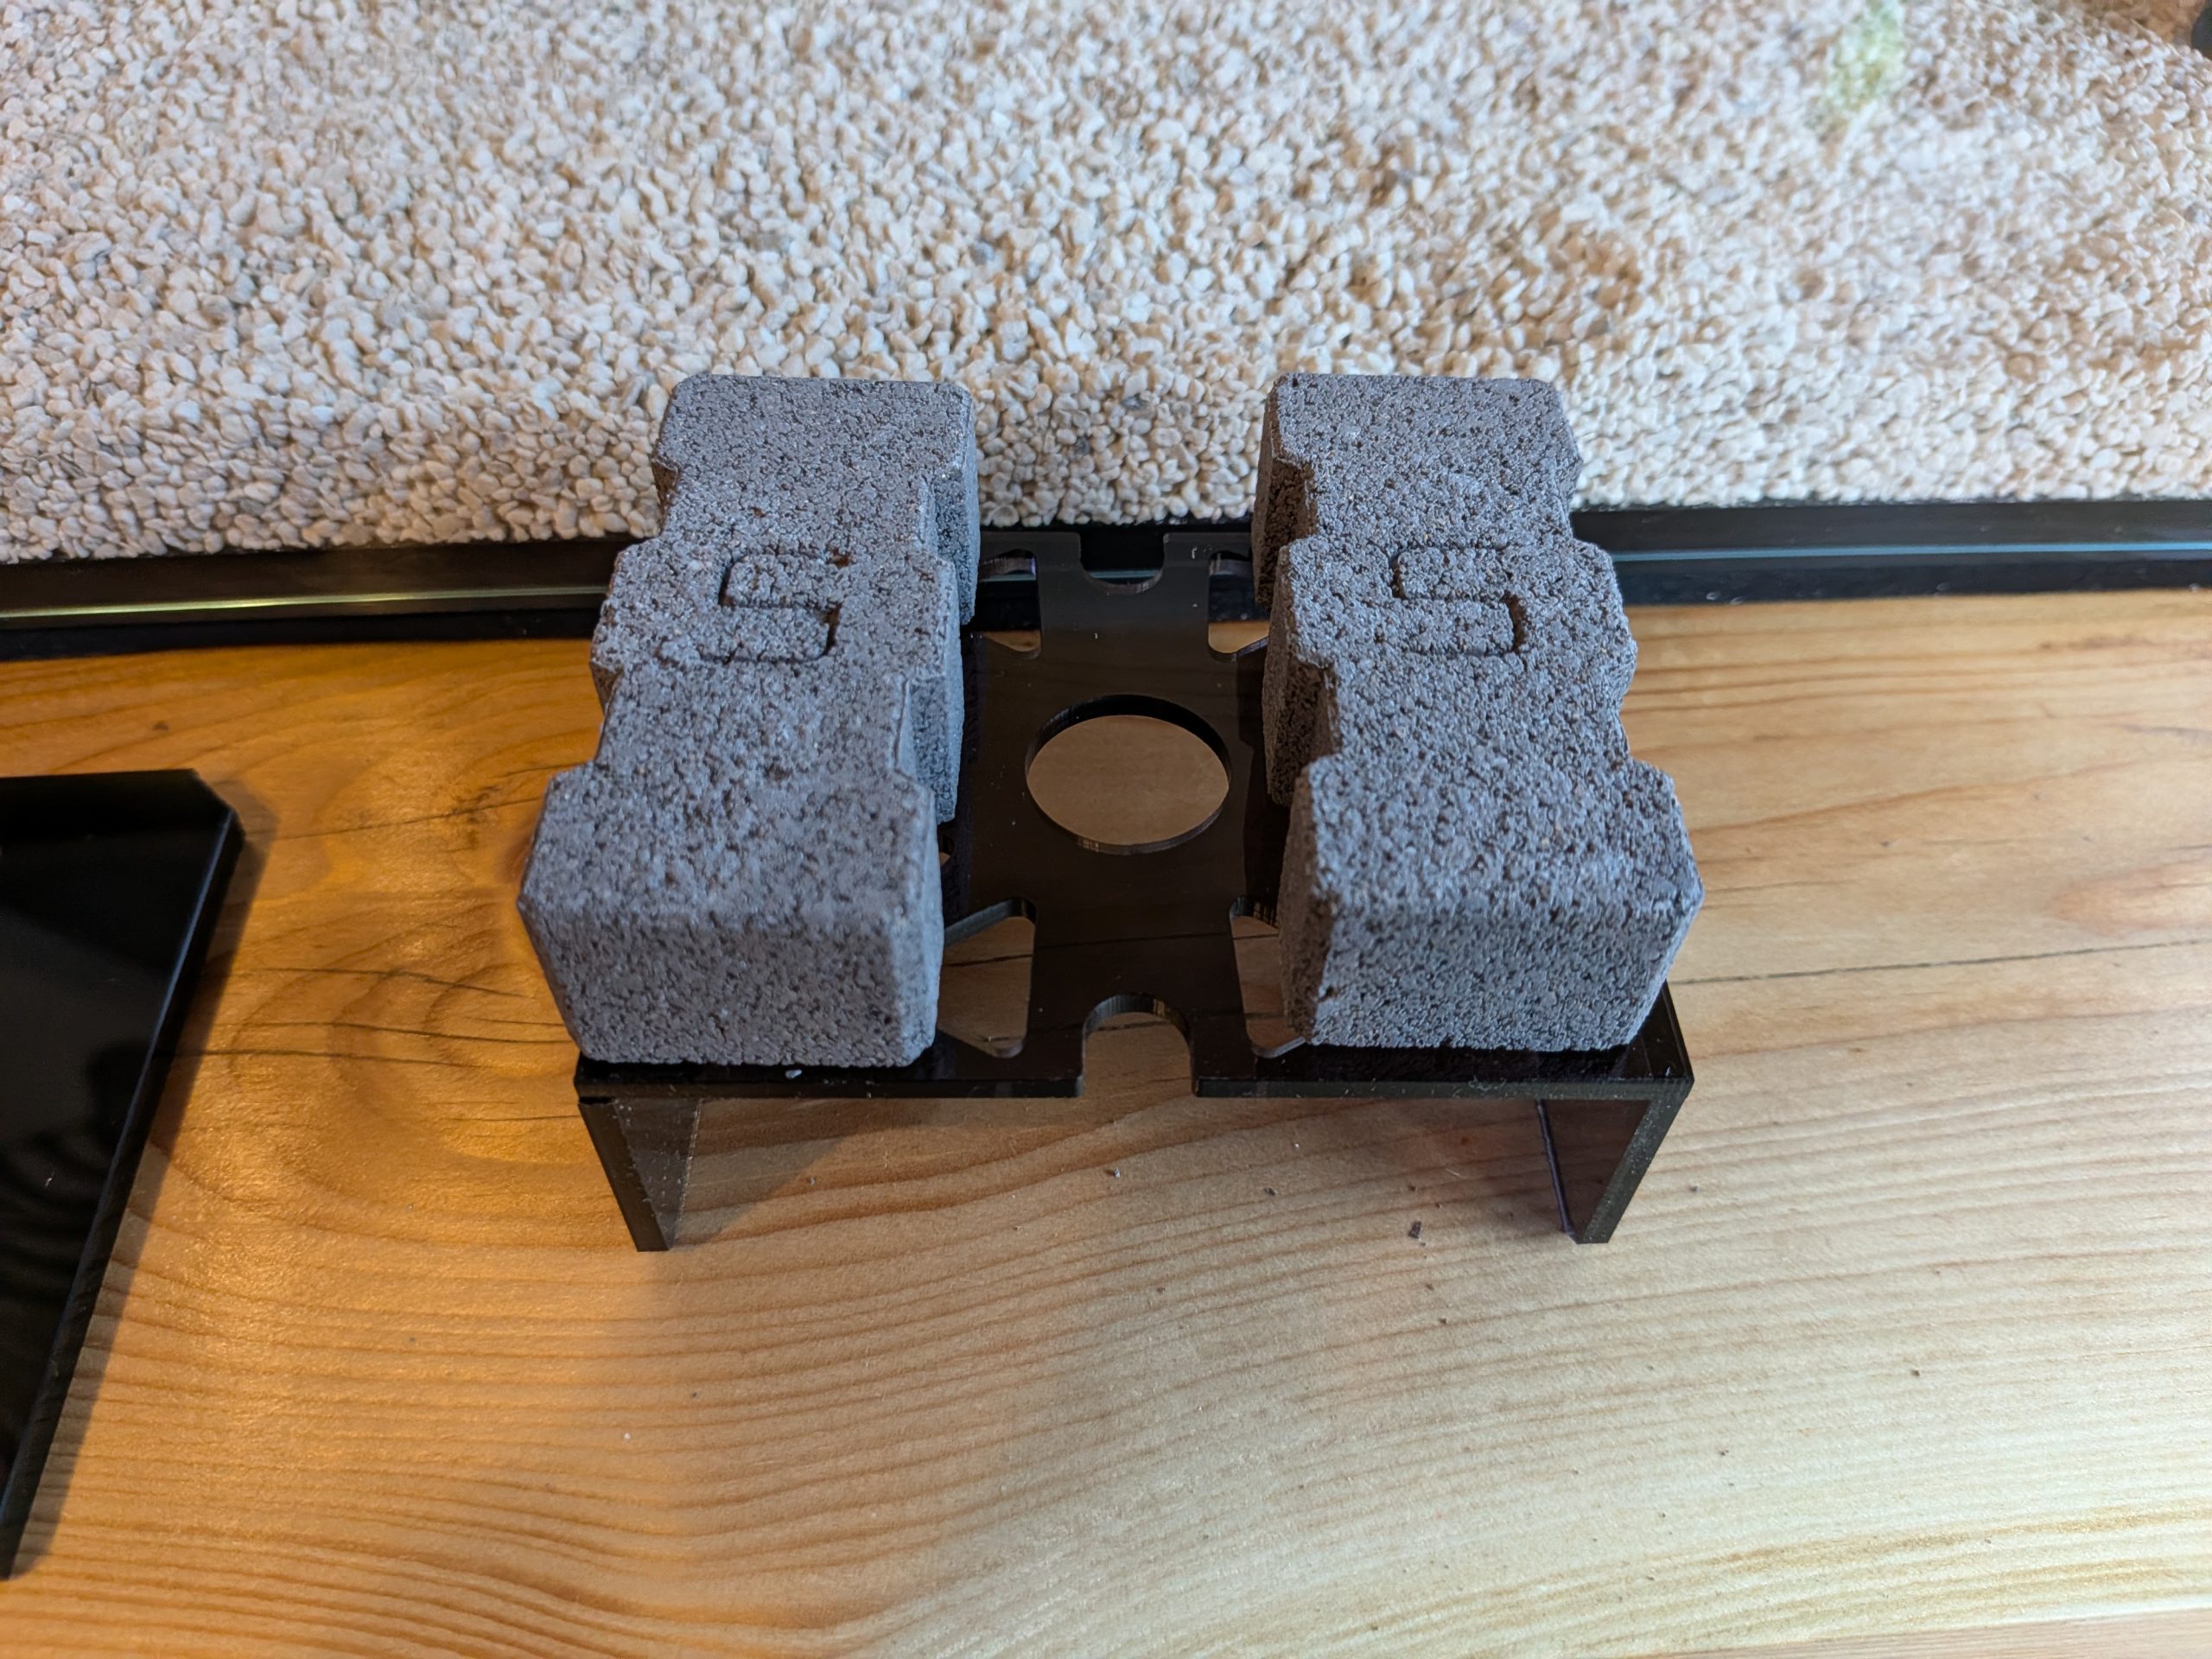
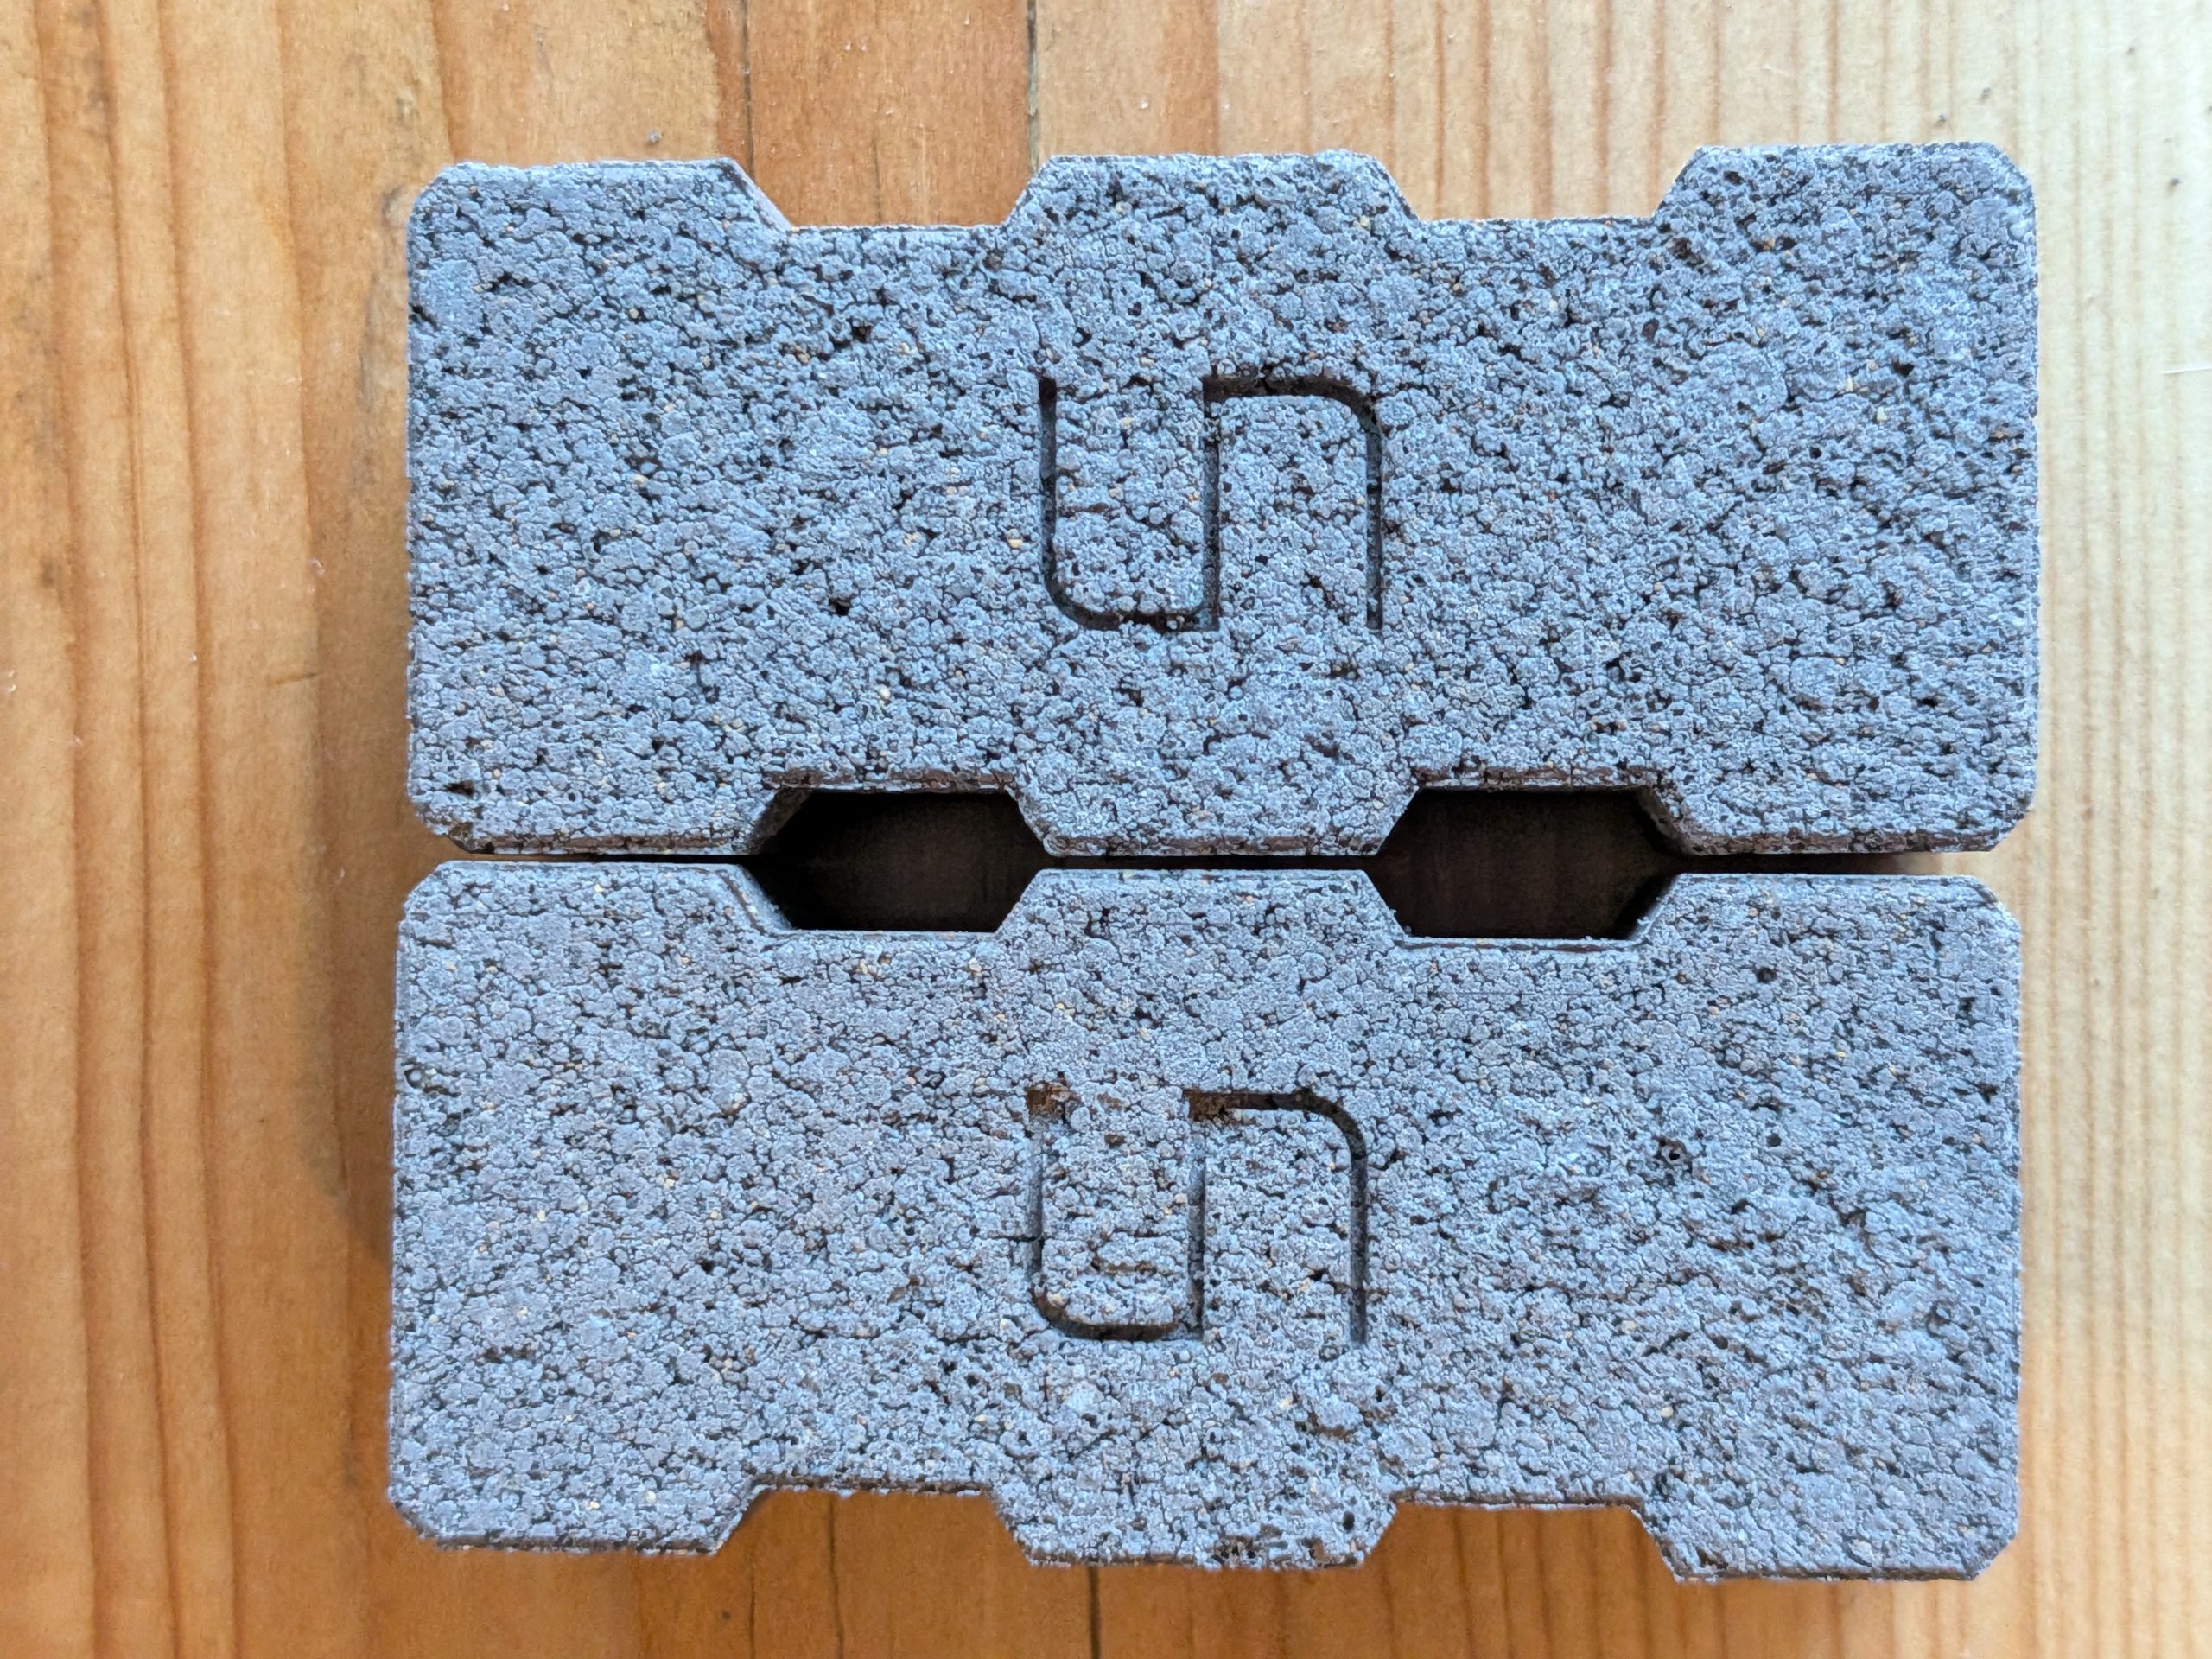
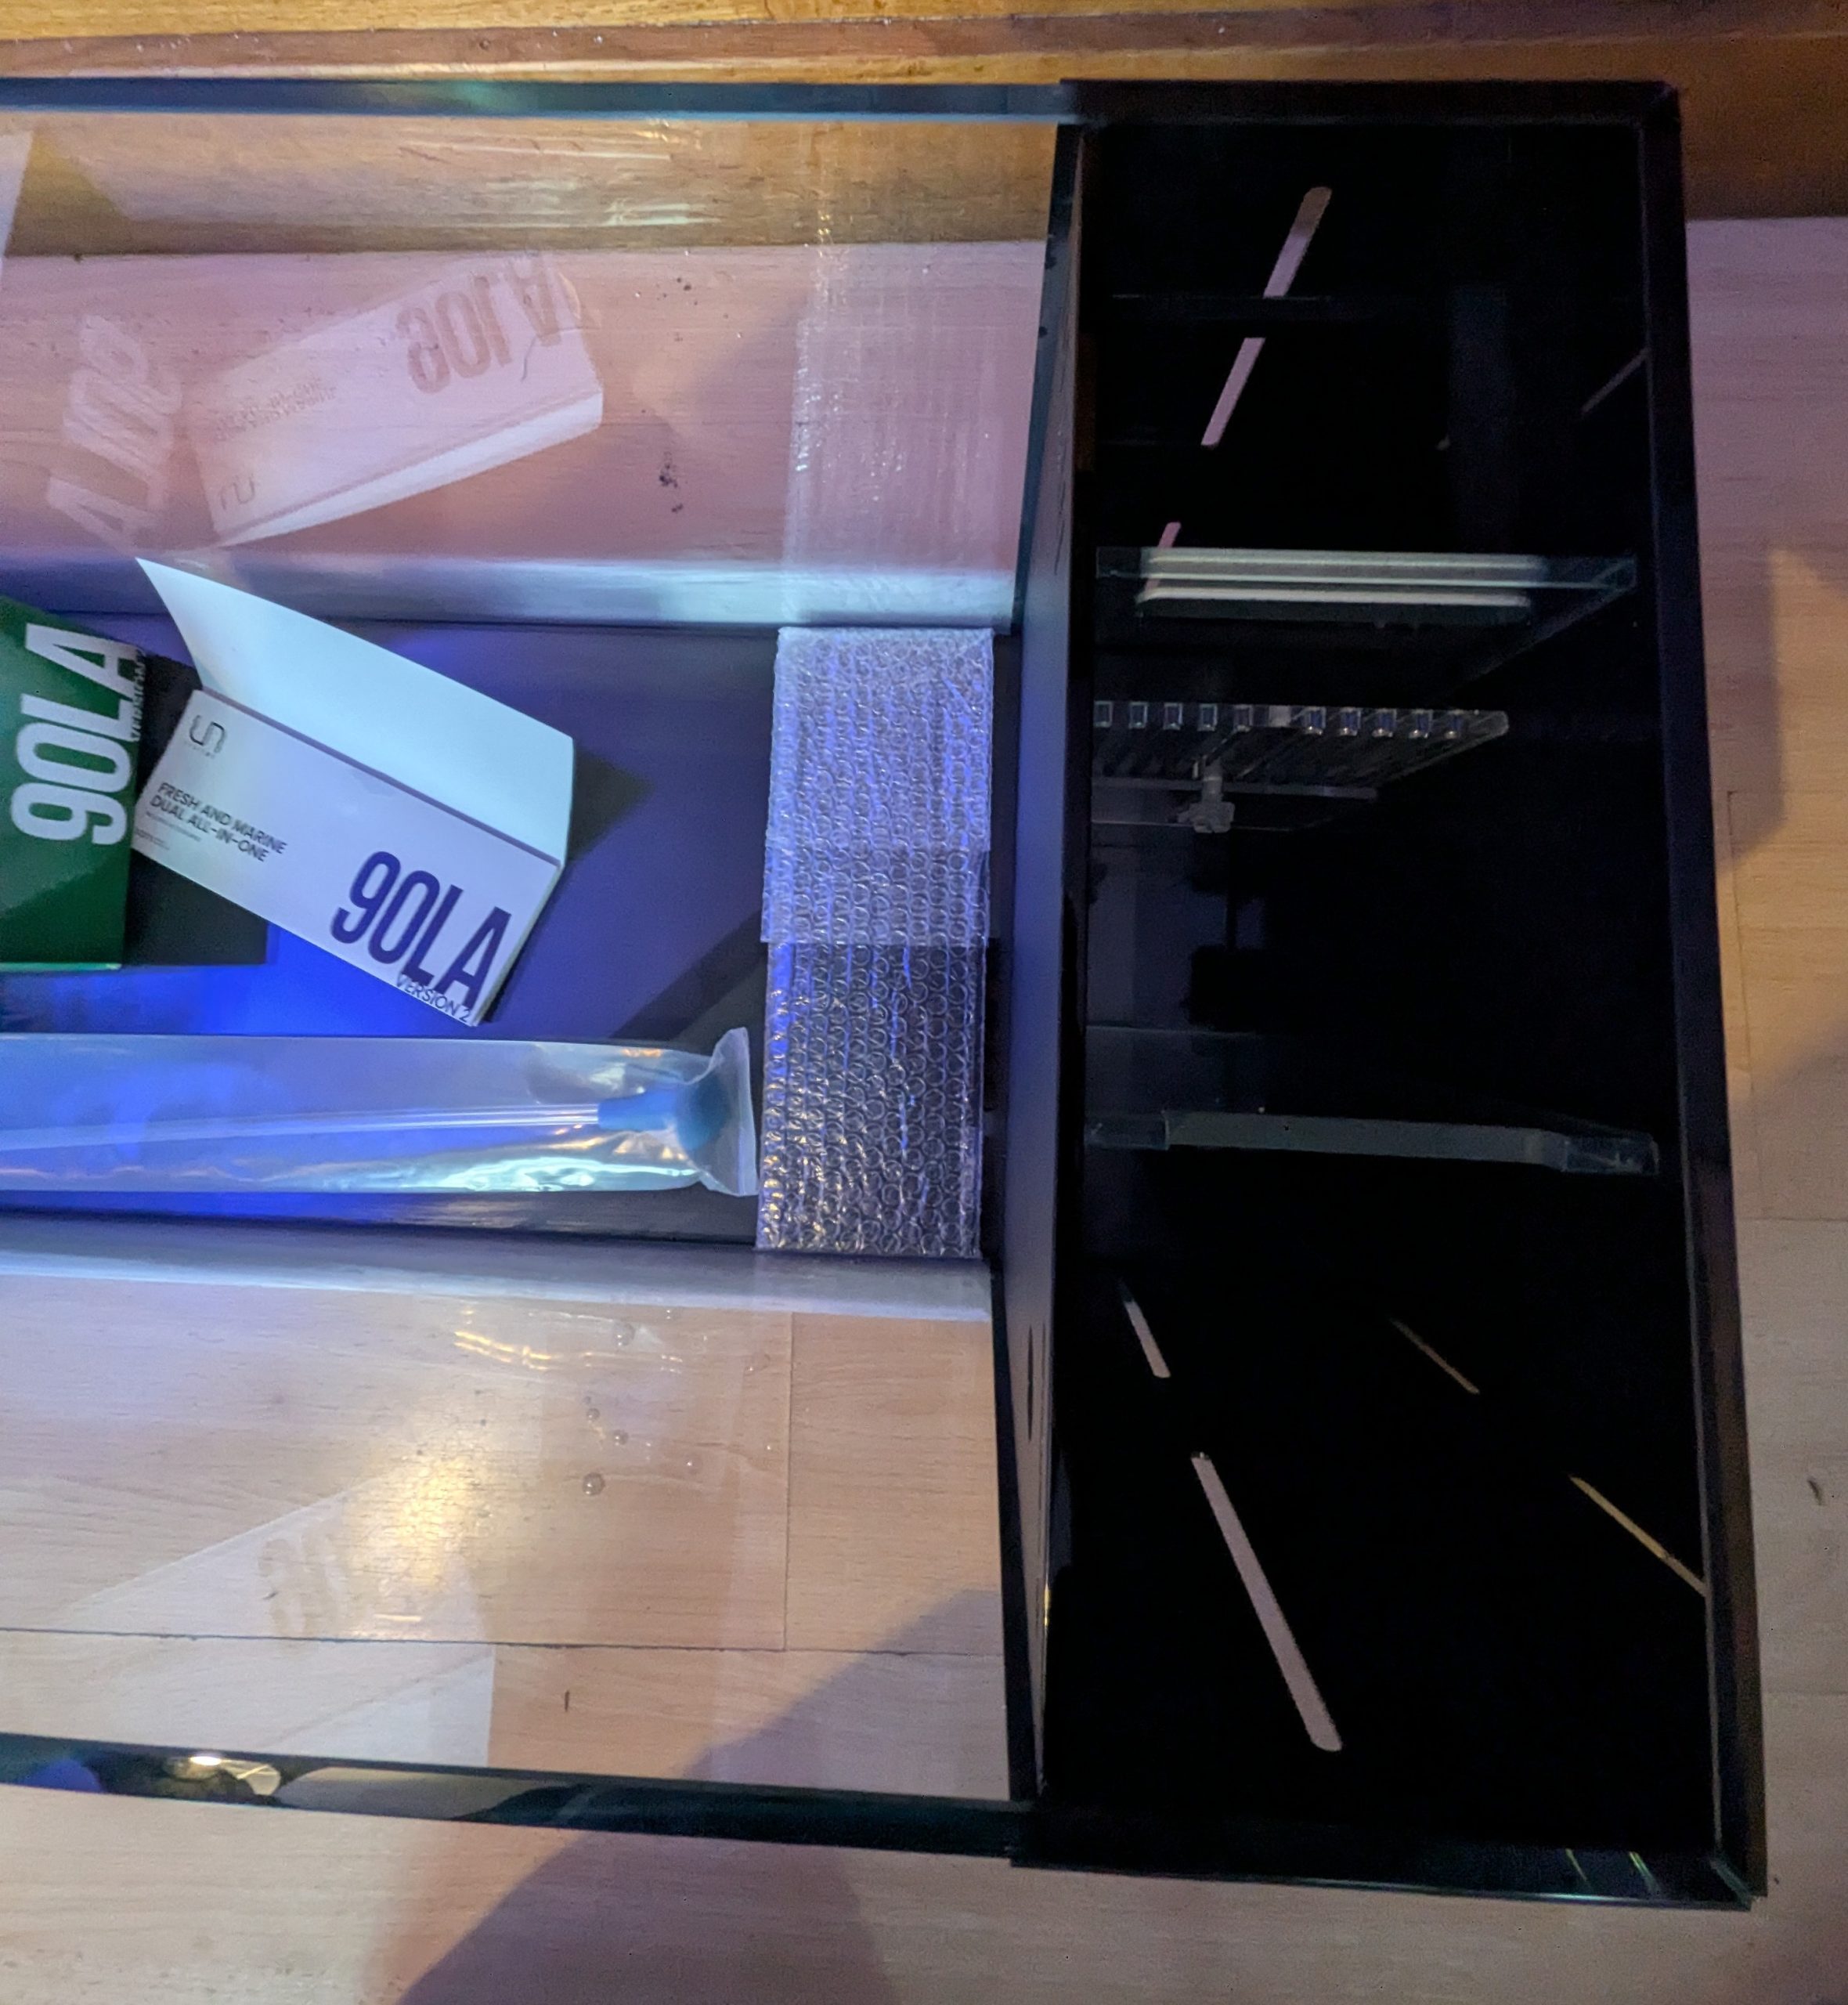
Some people do this using magic bottles of additives but I had another tank to hand to so I added a scoop of the sand and some rock from the other tank to kickstart the process. This rock and sand will already have some of the beneficial bacteria that the magic bottles provide. When using this process a close eye on parameters are still needed. The UNS AIO tank came with 2 small bio media blocks which I have put in the middle of the 3 chambers
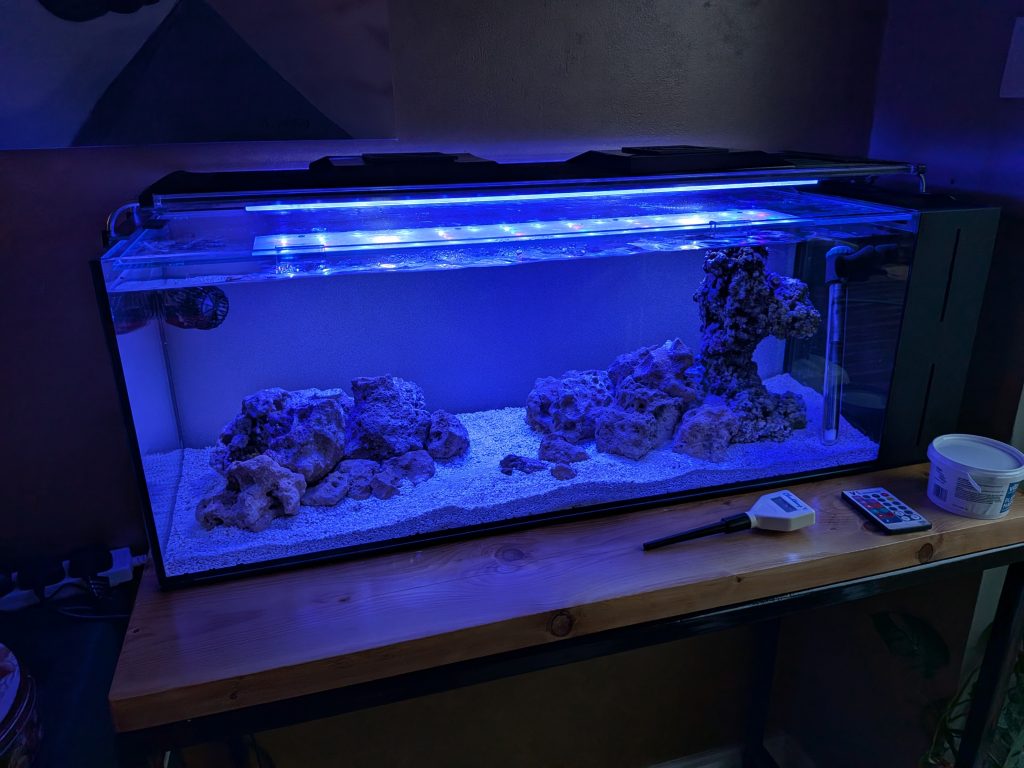
The First 24 Hours: Managing the Cloud and Testing Flow


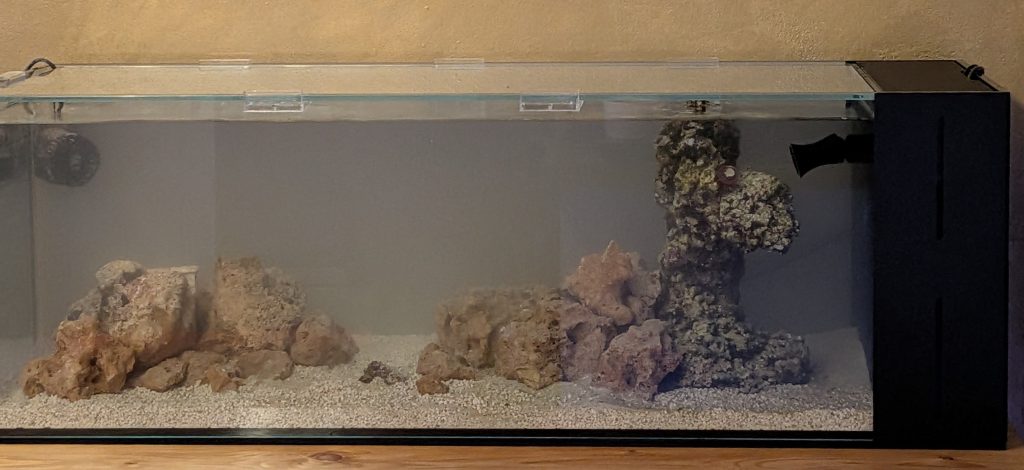
As you can see from the photos the water looked very cloudy after filling. This is because I didn’t clean my sand before putting it in the tank (schoolboy error). After adding some filter floss and waiting around 24 hours the water was crystal clear. I noticed there wasn’t much water movement on the side furthest from the return pump so I added a small powerhead in the top left corner. With the tank\stand at this height I can barely see the powerhead.
What’s Next? My Vision for this High-End Nano Reef
As per the opening paragraph the aim was always to have a simple but beautiful reef tank, a conversation piece. I don’t want nests of cables and lots of equipment to clean and maintain, I don’t want to spend hours every week lugging around water for water changes.
I now need to keep testing the water, Even though the tank is empty, I’m adding small amounts of fish food daily. This provides a steady ammonia source for the bacteria I seeded from my old rock and sand, ensuring the tank can handle the bio-load when I finally move the fish over.
I plan to add some MarinePure bio balls into the middle chamber. This combined with small weekly water changes will help maintain the tank without the need for a skimmer.
I have ordered the ATO specifically designed for this tank from Charterhouse Aquatics. Unfortunately it hasn’t arrived in the UK yet but hopefully it will arrive in the next few weeks. This will top off the tank after evaporation, reducing my workload and keeping the salinity in check.
The hardest part—the ‘Great Fish Migration’ from the 340L—is still to come. But as I sit in front of this silent, sleek glass box, the ‘electric bill anxiety’ is already starting to fade so stay tuned for Part 2 to find out what happens next.
You can find my equipment list on the “My Gear” page.
